Bought a stunning new door, installed it then realised the bottom of the door is sticking? Perhaps you’ve had a small issue with an interior door and it’s gradually got worse and worse and now it’s causing a problem? Or you maybe you’ve recently installed thicker carpets and it’s impacting the functionality of your door?
Thankfully, this isn’t necessarily a problem with the door itself, but there is a very simple solution. All you have to do is take the door out of its frame, plane the bottom, make some minor adjustments and re hang it so it fits perfectly.
Find out everything you need to know about planing a door frame or scroll down to skip to the step by step instructions).
What is a Door Plane?
A door plane is a handheld device that you move from one edge of the door to the middle, then repeat the same from the other edge of the door to the centre to shave the door down. This results in a slightly shorter door with an incredibly smooth surface. The more you plane, the shorter or thinner the door becomes.
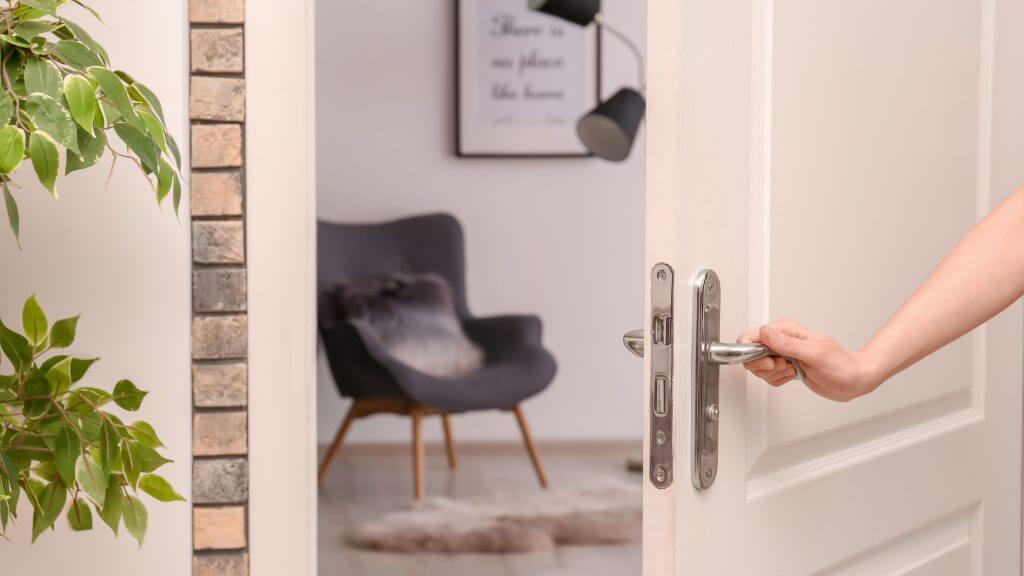
When Would You Use a Planer?
You would use a planer if you needed to take an incredibly small amount off a door, so little that you wouldn’t be able to use a saw, for example.
An example might be if you have an older door frame that has warped over time, or the door itself may have warped, causing the whole door to jam. It may even only affect one side of the door, which leads to it sticking or catching on the floor as you try to open it. This can be annoying if it’s disturbing your work our downtime. Think: your home office door or bedroom door.
It may not be much of a problem at first, but over time it will become irritating and could even damage your flooring.
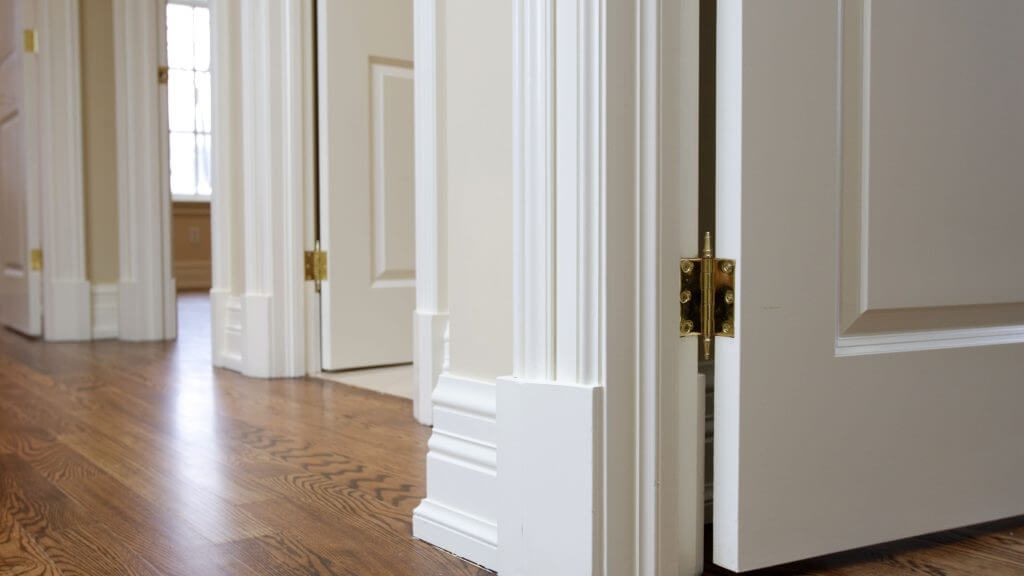
Do You Plane the Top or Bottom of a Door?
The beauty of a door plane is that you can use it on any edge of the door including the sides, top and bottom surface of the door. With that said, the instructions later on in this post are specifically for tackling the bottom edge to stop the door from sticking when opening, although the process is transferable.
How Much Can You Plane off a Door?
A wood door can be planed thanks to the lipping, which is a separate piece of wood that’s been attached to the actual door. Different doors come with different-sized lippings.
This is important because you can only plane or trim a certain amount off the lipping. If you take off too much, you could damage your wooden doors to the point where you’d have to replace them.
Before you uninstall your door or pick up a hand plane, check how much you can remove while keeping the door intact. If you’re unsure, it’s worth contacting the manufacturer before you begin.
If you purchased the door from us, feel free to get in touch for advice. We will be happy to help where we can.
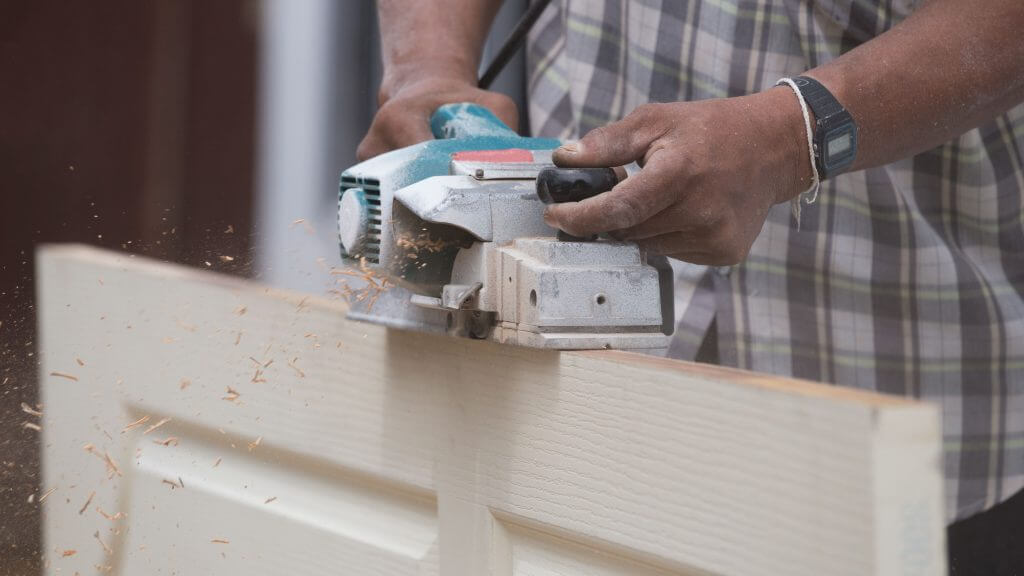
Can You Plane a Door with a Sander?
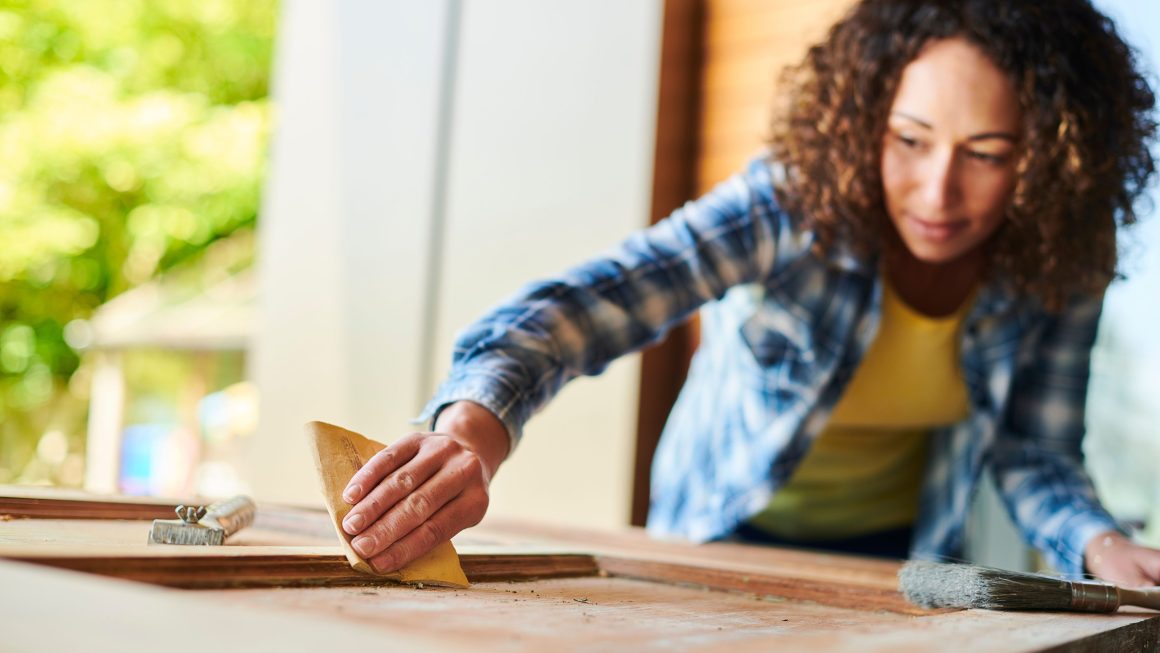
Using sandpaper is another option when trying to fix a sticking door. This approach is usually taken if you’re trying to shorten the door while it’s in situ, rather than taking it off its hinges to plane and then reinstall. It requires a little patience but is perhaps more accessible if you don’t have access to a planer.
Can I Plane Hollow Core Doors?
Yes, you can plane solid core doors and hollow core doors.
It’s worth noting that when working with a hollow core door, a planer can be used, but care should be taken to avoid removing too much material. But as long as you apply even pressure (and don’t remove more than the recommended amount from the lipping) you shouldn’t have a problem using a hand planer.
No matter the door type, always sand the edges with fine sandpaper after planing and use blue painter’s tape to touch up any imperfections. By selecting the right tools and methods for the door type, you’ll ensure a professional-looking and smooth finish.
Find out the benefits of solid core doors by diving into our dedicated article.
Do You Trim Doors or Plane Them?
There are two methods to trimming interior doors that are getting caught on the floor when being opened or closed: trimming a door that’s been taken down from the frame and trimming the entire in situ. We’ll run you through both.
Planing and trimming a door ultimately achieve the same goal – making the door fit its designated space – but they use different methods:
Planing Doors
This technique involves shaving off small, even layers of material from the entire surface, typically done with a hand plane or electric planer. Planing is ideal for situations where the door needs to be adjusted by a small amount (usually a few millimetres) to fit the height or width of the opening. It creates a smooth, consistent finish.
Trimming Doors
This method involves cutting a specific amount off the sides or bottom of the door with a saw, like a circular saw or jigsaw. Trimming is used when you need to remove a larger portion of the door (more than a few millimetres) for it to fit the opening. It’s a faster approach but requires more precision to ensure a clean, straight cut.
Taking care of minor issues such as sticking doors can help to boost property value. Find out more ways to increase the value of your home before selling by reading our more detailed guide.
How to Plane the Bottom of a Door (when Uninstalled)
To tackle planing a door, you’ll need a collection of tools to ensure a smooth and precise job.
The essential items include a marking tool like a carpenter’s pencil to mark areas for shaving. For the actual planing, you can choose between a hand plane for more control or an electric planer for faster removal of material.
A tape measure will be helpful for accurate measurements throughout the process, and a sturdy work surface like a workbench is ideal to secure the door while you plane. Take care to use a dust mask if you’re using tools such as a power planer or belt sander.
If you’re using this planing method, you’ll need to take the door off the hinges. Learn how to remove an old door safely in this complementary guide.
How to Plane a Door: Step by Step
Step one
Identify the trouble spots. Make a note of where the door is catching on the floor, it may be helpful to use a pencil to mark the problem area.
Step two
Use the hammer and nail set to jimmy the hinge pins between the hinges up and away.
Step three
Take the door down (this may need two people), place it on a stable surface and apply painter’s tape to the bottom to help protect the paint or finish surrounding the door.
Step four
If the door is only catching on one part, use the block plane (some opt for an electric planer), start at the furthest point from the centre and apply steady but light pressure in a straight line towards the middle of the door where there’s a problem.
Extra tip
Setting an angle between 15 to 20 degrees when planing will help create a deeper cut and reduce tear out on the surface of the wood. This is typically achieved by using a sharp chisel, but you can also use a template or pencil to mark out the angle.
As you plane side-to-side, remember to continually measure and adjust the door plane’s angle until the desired depth is achieved. You may need to repeat this process several times before you get it right.
Step five
Rehang the door and try opening and closing it. If there’s still a problem, follow steps one to four again until it operates smoothly.
This may feel time-consuming and you may want to trim off a bigger chunk each time, but we recommend only taking off a little at a time. The last thing you want is to plane too much wood away and end up with a wonky door that simply creates another problem (one that’s much more difficult to resolve).
Step six
When you’re satisfied with the results, reinstall the door in its frame. Apply paint where required to help your door look good as new.
How to Plane the Bottom of a Door (on the Hinges)
If you don’t have another set of hands to help, you can sand wooden door in situ with medium grit sandpaper. Here’s what you do:
Step one
Find the problem area by opening and closing the door.
Step two
Place the sandpaper grain side up angled in the area the door sticks when opening and closing. Open and close the door, planing side to side, so that the door sands itself.
Step three
Start with light pressure before increasing it once you can feel any rough spots or raised wood grain. Repeat until the entire door opens and closes smoothly.
See how to change a lock, try our tips on how to fix a sticking door and discover how to fix other common door issues by taking a look at our other handy DIY guides.
Plane a Door and Boost Your DIY Know How
Whether you use an electric hand planer or choose to take the door down and sand it as it hangs, you now know how to plane a door with confidence for a seamless finish.
Vibrant Doors has been supplying high-quality, stunning exterior and interior doors in a wide range of styles for decades. Browse our special offers for excellent prices and enjoy swift delivery. Follow us on Instagram or contact our experts for help and advice to help find the right doors for your next project.


