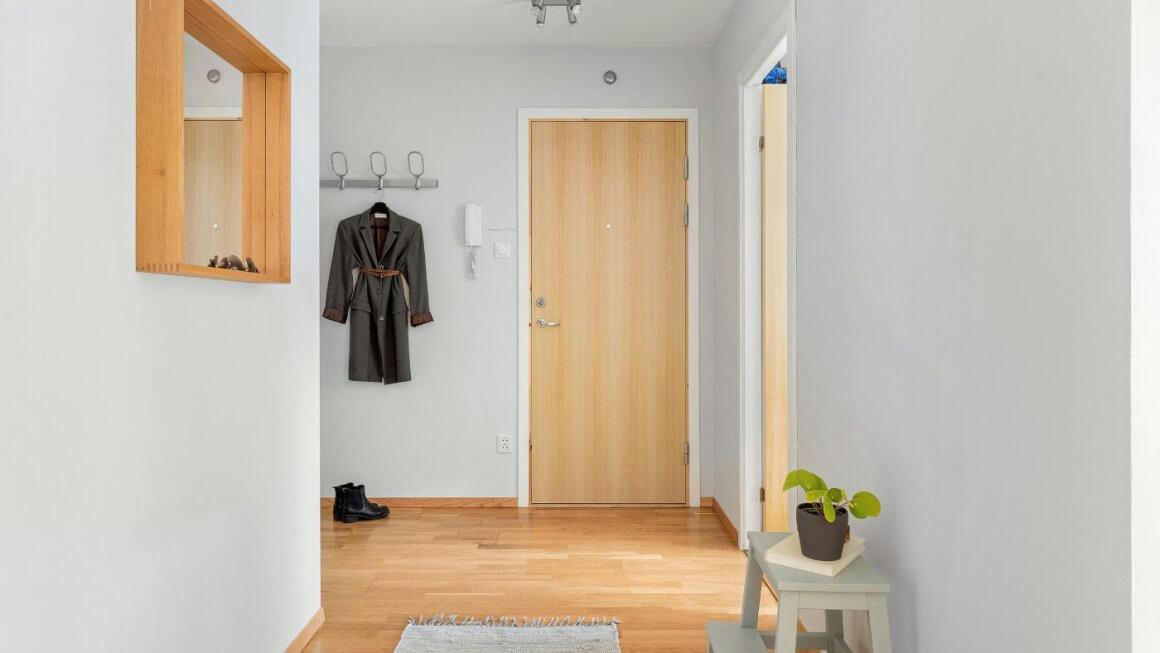

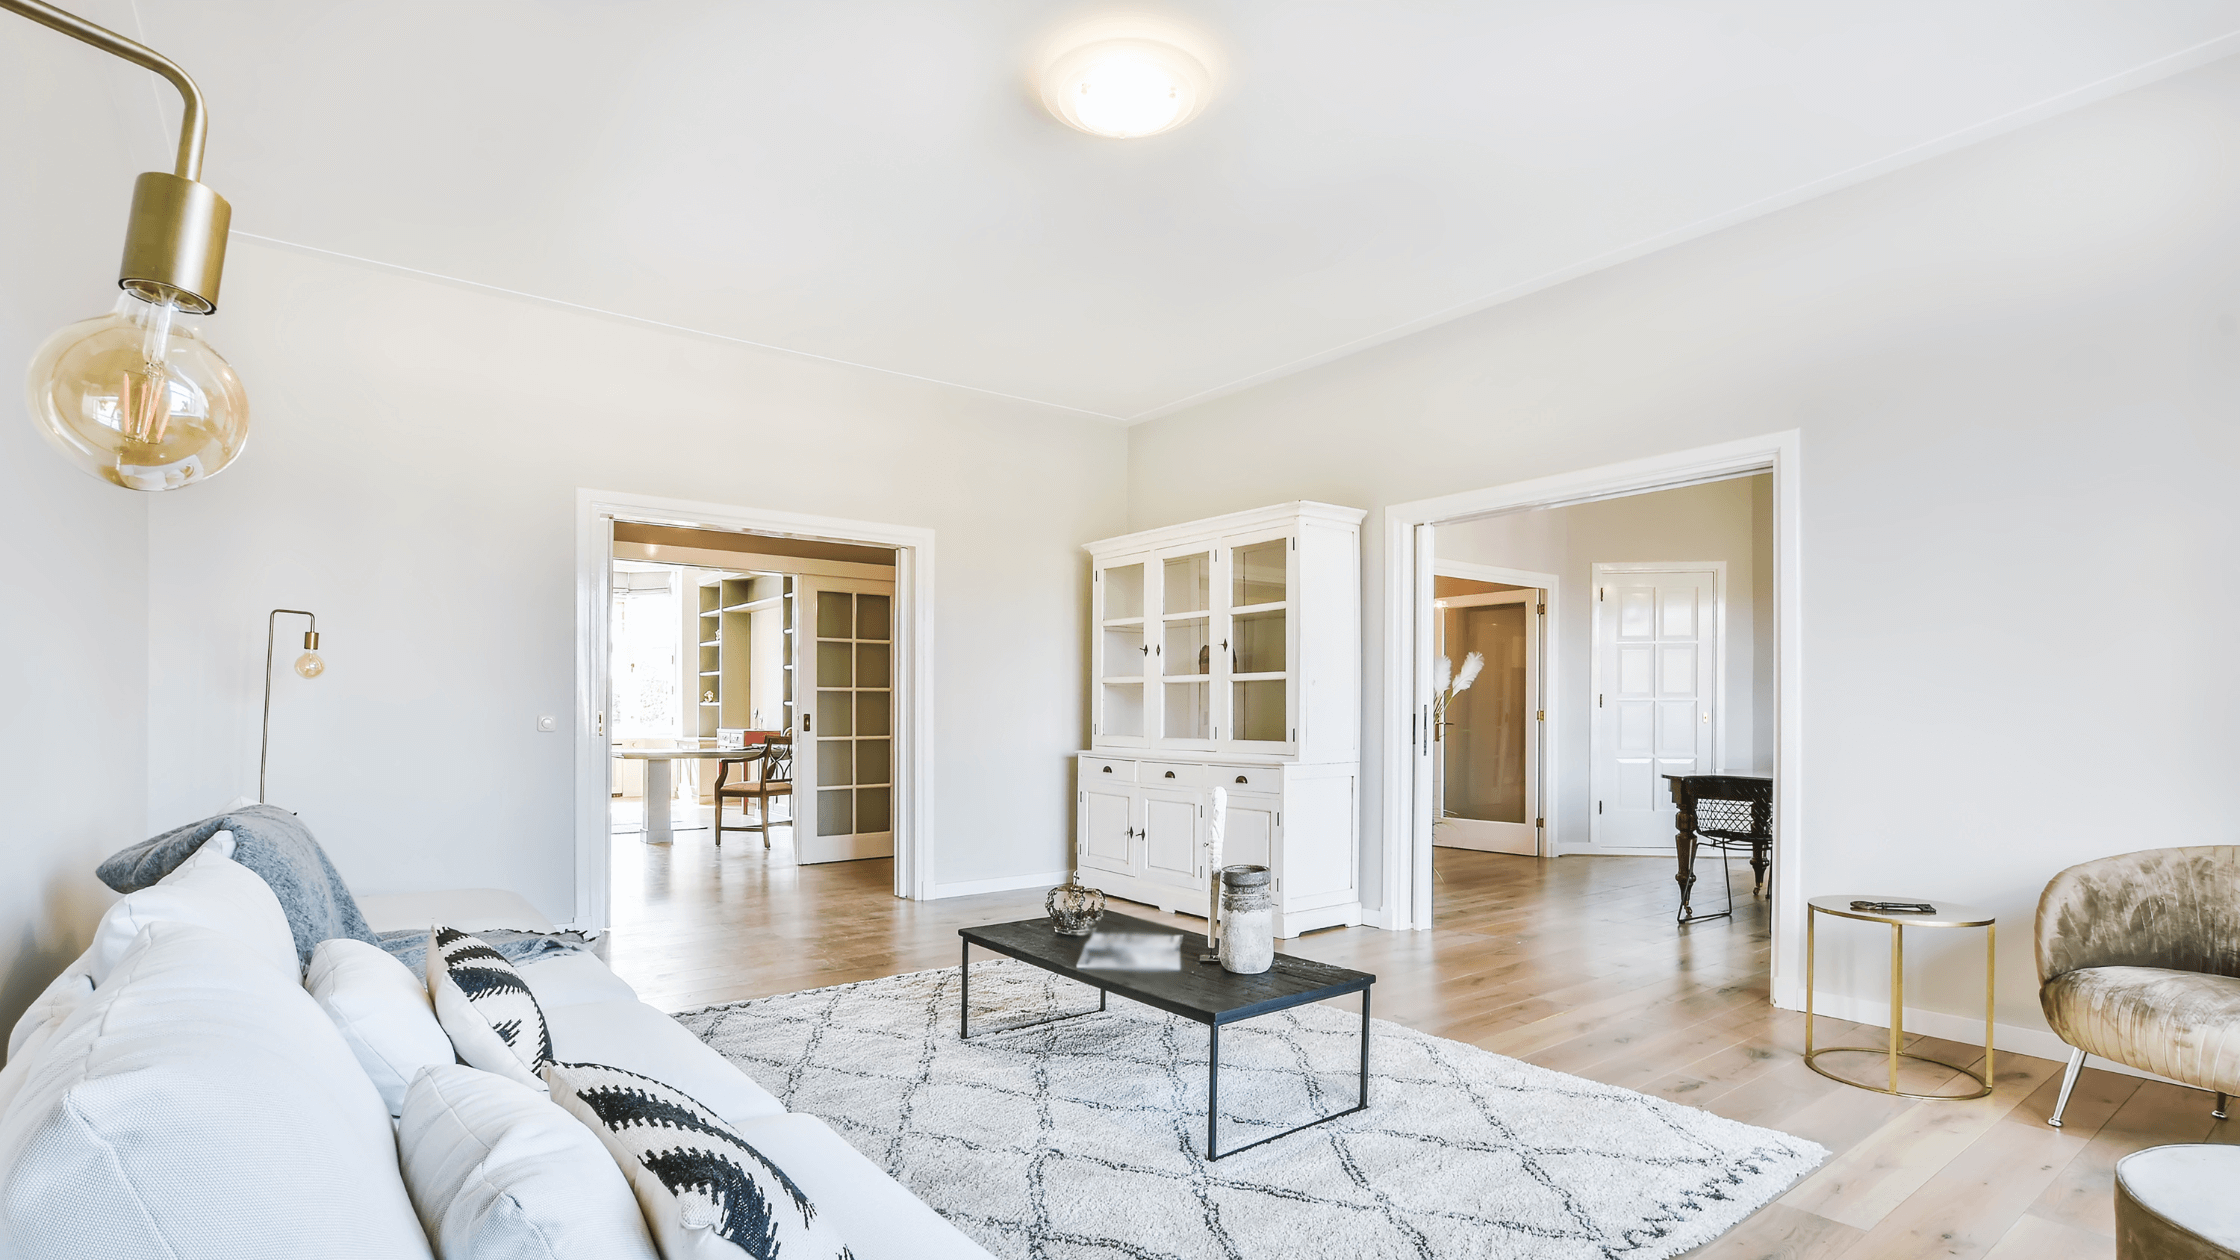
Skirting boards (sometimes called baseboards or trim) add visual interest while protecting your walls from wear and tear. But even the best skirting board ideas sometimes need maintenance or replacing altogether.
Whether you’re installing new flooring, refreshing your interior design, or simply need your skirting boards to fit around a new appliance, learn how to remove and trim skirting boards today. A valuable DIY skill for many properties in the UK.
Safety First
Turn off the electricity supply if there are any electrical wires near the skirting board (consult a qualified electrician if you’re unsure). Wear safety glasses and gloves at all times to protect yourself from dust and splinters. Stay safe!
How to Remove Skirting Boards
Step one: Locate the fixings
Skirting boards are usually fixed with nails, screws, or adhesive. Look for small holes or gaps where the board meets the wall.
Step two: Cut the sealant
Use a Stanley knife to carefully cut through any sealant running along the top edge of the skirting board where it meets the wall. This helps prevent damage to the plaster when removing the board.
The next step depends on how your skirting board was attached to the wall…

The Removal Process: Your Options
Removing Nails
Use a claw hammer to gently pry under the head of the nail and lever the board away from the wall. Place a scrap piece of wood between the hammer and the skirting board to avoid damaging the plaster.
Removing Screws
Use a screwdriver to remove the screws holding the skirting board in place.
Removing Adhesive
This can be trickier. A stiff putty knife can be used to carefully work the board loose, but be prepared for some damage that might require filling later.
How to Trim Skirting Boards
Measure twice, cut once
Measure the area where the trimmed skirting board needs to fit and mark the cutting line on the board.
Choose your tools
A mitre saw is ideal for a clean, angled cut, but a good quality hacksaw or jigsaw can also be used.
Make the cut
Ensure your saw is set to the correct angle (usually 90 degrees for straight cuts) and carefully follow the marked line.
Sand the cut edge
Use fine-grit sandpaper to smooth out any rough edges on the cut section.
Putting it Back Together
Re-fix nails or screws by drilling pilot holes in the new position of the skirting board and using appropriate fixings. Working with adhesive instead? Apply a suitable product to the back of the board and press it firmly against the wall.
Filling and Finishing
Use filler to cover any holes left from the old fixings or minor damage from removal. Once dry, sand smooth and paint the skirting board to match your existing décor.
More Top Tips for Working with Skirting Boards
Work in sections to make the job more manageable.
Number the boards as you remove them to ensure they go back in the correct order. This is particularly helpful for long runs of skirting board.
If you’re unsure about the electrics or the condition of the wall behind the skirting board, talk to a qualified local professional. Particularly if you’re embarking on a multi-phase self build, period property restoration or a full home renovation
Buy Skirting Boards Online For An Instant Home Refresh
Now you know how to remove skirting boards and how to trim skirting boards, you’ll be able to create a neat and refreshed look. For more information, consult our guide on how to paint skirting boards and shop our skirting board collection online.
Looking to add even more depth and dimension to a property project? Browse our selection of on-trend wall panelling. Available in a range of styles at incredible prices. Skirting boards and wall panelling… the perfect duo to bring a little extra wow factor to any room.